Introduction
To provide S3 service using Minio on Kubernetes offers a reliable, scalable, and cost-effective object storage solution. Minio is an open-source platform that emulates Amazon’s S3 API, making it compatible with a wide range of S3 compliant applications. This guide will help you deploy Minio within your Kubernetes environment, enabling you to manage and store data efficiently.
Minio can be deployed on many storage classes. See how you can Use OpenEBS with hostPath on Kubernetes to provide an easy storage storage class for minio.
Procedure
In this procedure we will install Minio using helm operator, then we will create a bucket, a user and create a policy to see how to provide the read/write permissions for the user to access the bucket. Finally we will test it with an external application.
Add the Helm repo
Add minio operator to helm:
$ helm repo add minio https://charts.min.io/
$ helm update minio
Install the Minio operator to provide S3 service
Let’s install the operator using helm:
$ helm install \
  --namespace minio-operator \
  --create-namespace \
  operator minio-operator/operator
$ helm install --create-namespace \
  --namespace minio -f values.yaml \
  --set rootUser=YYYYYY,rootPassword=XXXXXXX \
  --generate-name minio/minio
I’ve used the following values.yaml file for both ingress of minio and minio-console:
ingress:
  enabled: true
  labels: {}
  annotations:
    nginx.org/client-max-body-size: "0"
    nginx.org/proxy-connect-timeout: 600s
    nginx.org/proxy-read-timeout: 600s
    kubernetes.io/ingress.allow-http: "true"
  path: /
  hosts:
    - minio.apps.k8stests.k8s.co.il
consoleIngress:
  enabled: true
  labels: {}
  annotations:
    kubernetes.io/ingress.allow-http: "true"
  path: /
  hosts:
    - minio-console.apps.k8stests.k8s.co.il
replicas: 2
resources:
  requests:
    memory: 8Gi
clusterDomain: k8stests.k8s.co.il
You should get this output:
NAME: minio-1707675958
LAST DEPLOYED: Sun Feb 11 18:25:59 2024
NAMESPACE: minio
STATUS: deployed
REVISION: 1
TEST SUITE: None
NOTES:
MinIO can be accessed via port 9000 on the following DNS name from within your cluster:
minio-1707675958.minio.svc.cluster.local

To access MinIO from localhost, run the below commands:

  1. export POD_NAME=$(kubectl get pods --namespace minio -l "release=minio-1707675958" -o jsonpath="{.items[0].metadata.name}")

  2. kubectl port-forward $POD_NAME 9000 --namespace minio

Read more about port forwarding here: http://kubernetes.io/docs/user-guide/kubectl/kubectl_port-forward/

You can now access MinIO server on http://localhost:9000. Follow the below steps to connect to MinIO server with mc client:

  1. Download the MinIO mc client - https://min.io/docs/minio/linux/reference/minio-mc.html#quickstart

  2. export MC_HOST_minio-1707675958-local=http://$(kubectl get secret --namespace minio minio-1707675958 -o jsonpath="{.data.rootUser}" | base64 --decode):$(kubectl get secret --namespace minio minio-1707675958 -o jsonpath="{.data.rootPassword}" | base64 --decode)@localhost:9000

  3. mc ls minio-1707675958-local
Verify the operator installation:
$ kubectl get all -n minioLet’s create our first bucket

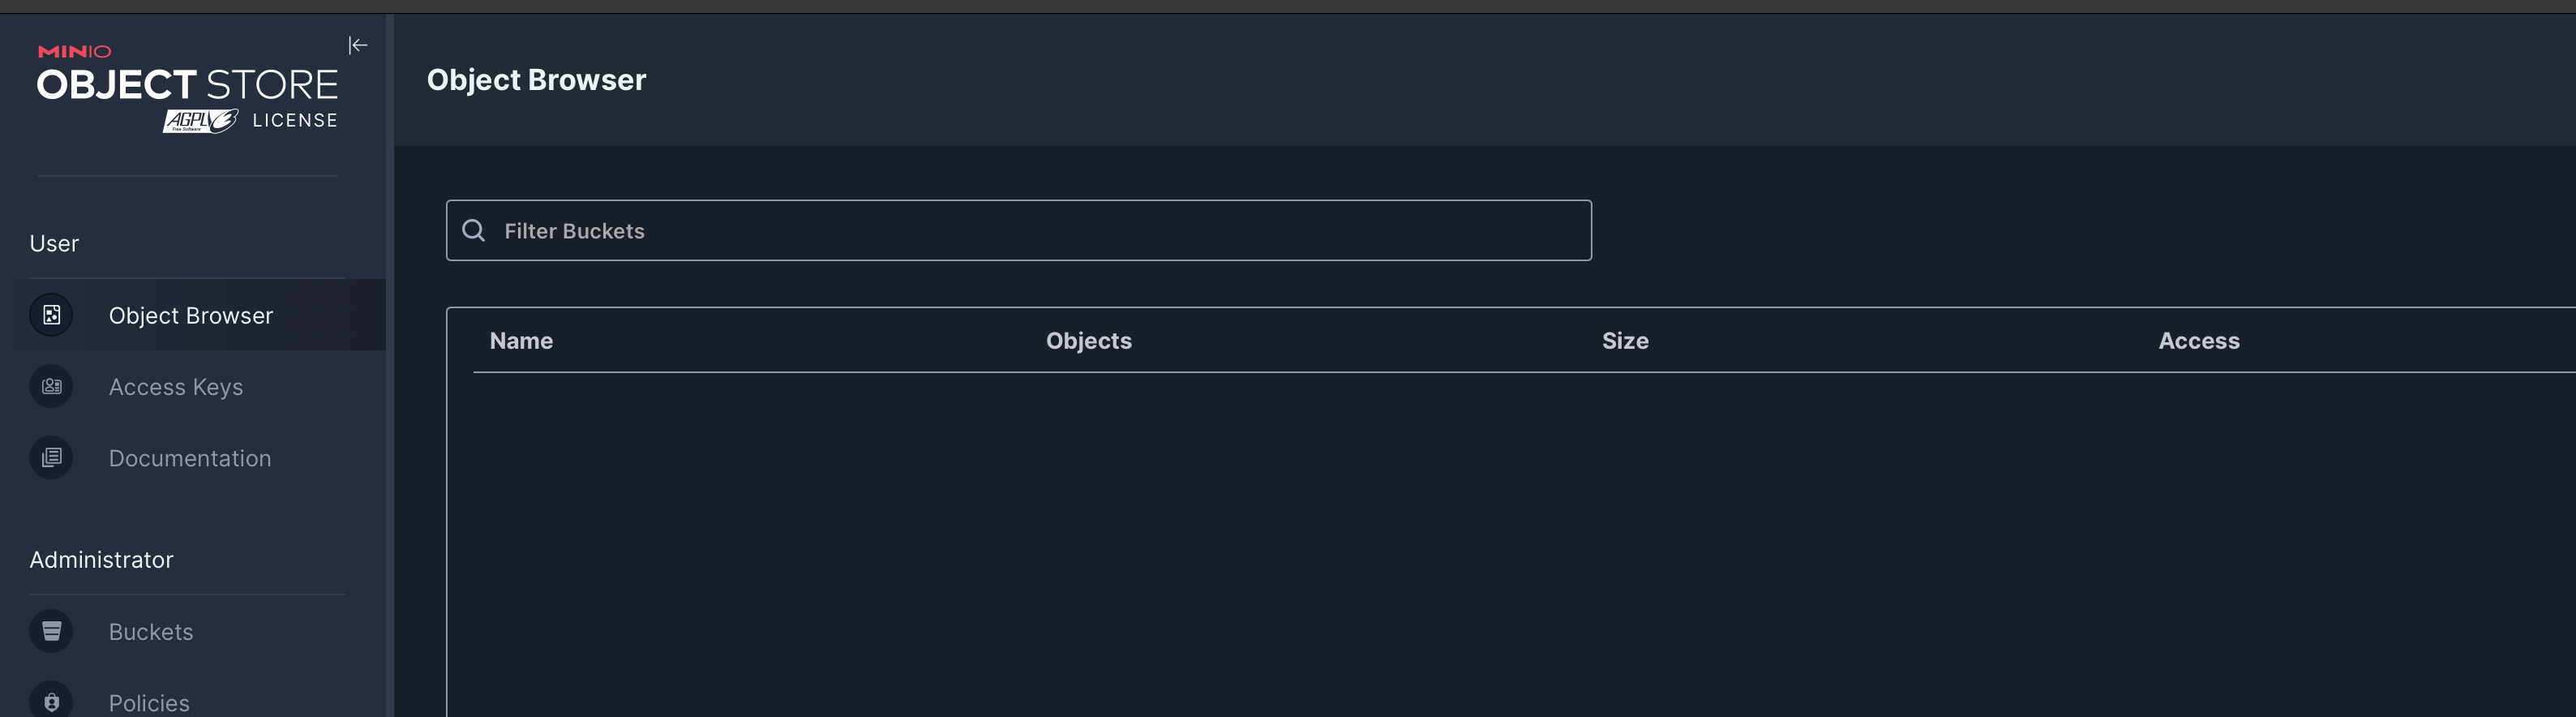
Connect with the credentials provided in the helm install command:
--set rootUser=YYYYYY,rootPassword=XXXXXXX \You should get this screen after connecting:
Create a bucket
Go to Administrator -> Buckets -> Create Bucket
Here you can create your bucket. Let’s create one with the name test-k8s-co-il

We can apply Versioning , Object Locking, Quota (and Retention).
Versioning – We use Versioning to keep older versions in the bucket.
Object Locking – To prevents objects from being deleted.
Quota – This is used in order to limit the amount of storage provided by the bucket.
Retention – is used when Versioning is activated , in order to limit the number of days.
After we create our bucket we shall see the following in the list:

If we click on it, we will see the details of this bucket:

Create a Policy
Please make sure to provide access for the users only for this bucket, as the default provides access to all buckets.
We can create such a policy by going to Administrator -> Policies -> Create Policy
Policy Name: access-only-test-k8s-co-il
and you can write a policy for example:
{
    "Version": "2012-10-17",
    "Statement": [
        {
            "Effect": "Allow",
            "Action": [
                "s3:*"
            ],
            "Resource": [
                "arn:aws:s3:::test-k8s-co-il"
            ]
        }
    ]
}
This policy will provide a user with access only to the bucket we’ve created.
Create a User
Now let’s create a User to utilize this bucket:
Go to Administrator -> Identity -> Users -> Create User
Create a user named: test-k8s-users and select the policy we’ve created:

click Save. you should now have access with the user to the bucket.
Testing
If you’re using OSX you can download Cyberduck and test it with S3 HTTP/HTTPS:
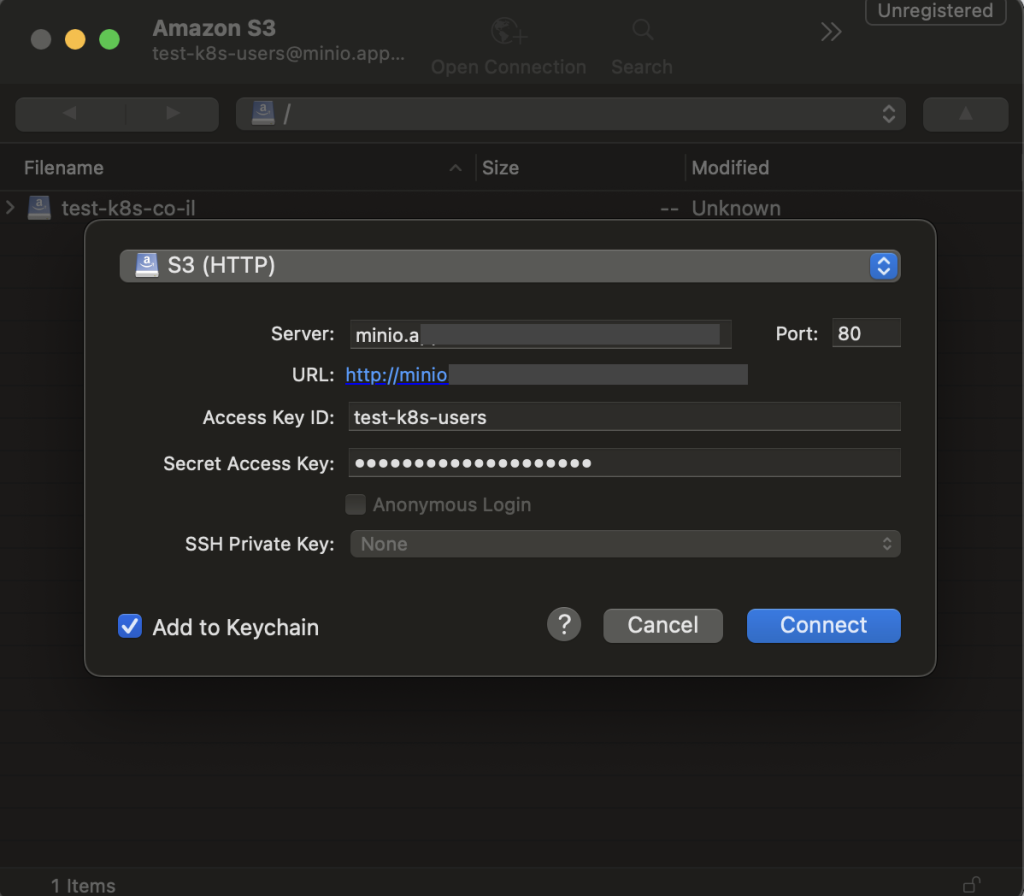
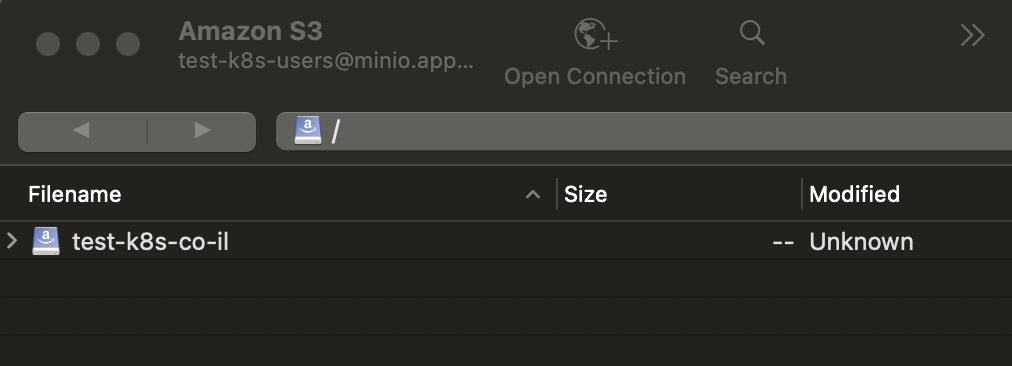
And we can see and use our bucket:
Summary
At Octopus Computer Solutions, we leverage the flexibility of open-source technologies to provide S3 service using Minio, ensuring our customers have access to secure and reliable storage solutions. Our expertise in Kubernetes facilitates seamless integration and offers a robust storage service that supports your data management needs. Trust us to enhance your storage capabilities with the efficiency and reliability of S3 protocol with Minio.