Introduction
Running Kubernetes on lightweight hardware like Raspberry Pi is easier than ever with K3s. In this guide, we’ll walk you through the simple steps of How to Deploy a Kubernetes K3s on Raspberry Pi. K3s is a lightweight Kubernetes distribution designed for low-resource devices, making it perfect for a Raspberry Pi cluster. Whether you’re experimenting or building a small-scale edge computing environment, K3s on Raspberry Pi is a great way to dive into Kubernetes.
Prerequisites
Required Hardware:
- 3 x Raspberry Pi 4 Computer Model B 8GB with Ubuntu 24.04 Server LTS (64bit)
- 1 x NETGEAR 5-Port Gigabit Ethernet Unmanaged Switch (GS305)
- 1 x Anker Charger, 60W 6 Port Charging Station
- 1 x GeeekPi Cluster Case for Raspberry Pi
- 1 x Laptop with a route to the Raspberries’ network.
Required Network settings:
- Statically assigned IP by DHCP so IPs will be known after every reboot.
STEP 1 – Setup Raspberry Pi
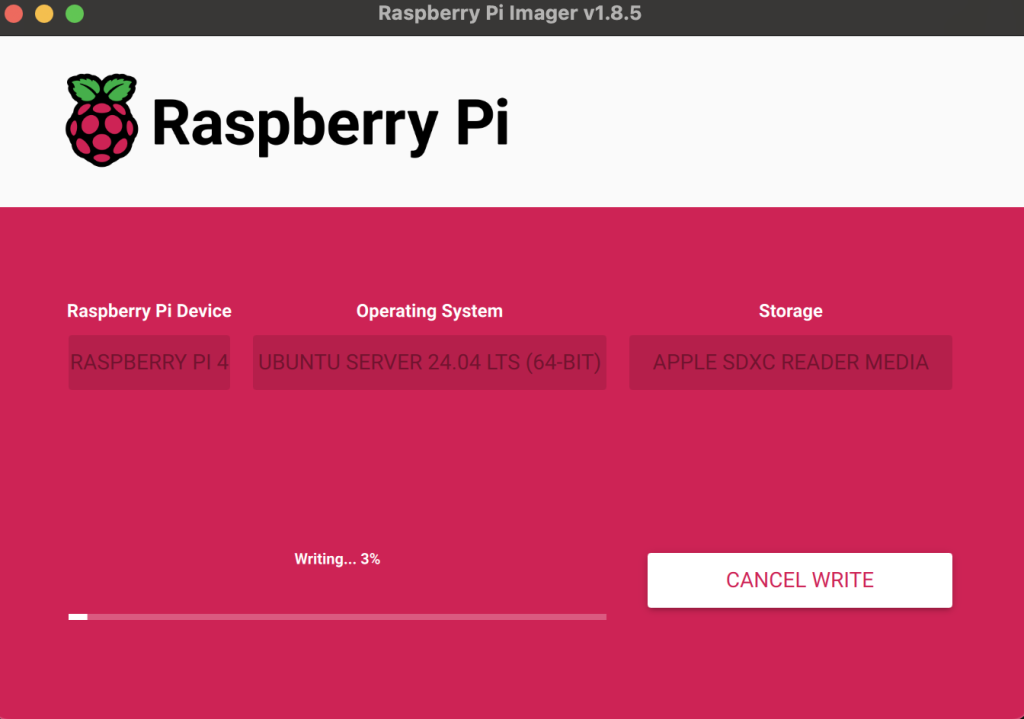
Download and run Raspberry Pi Imager

Choose appropriate Device , OS and Storage:

NOTE: Make sure you select Ubuntu Server 24.04 LTS (64bit).
Click NEXT and EDIT SETTINGS
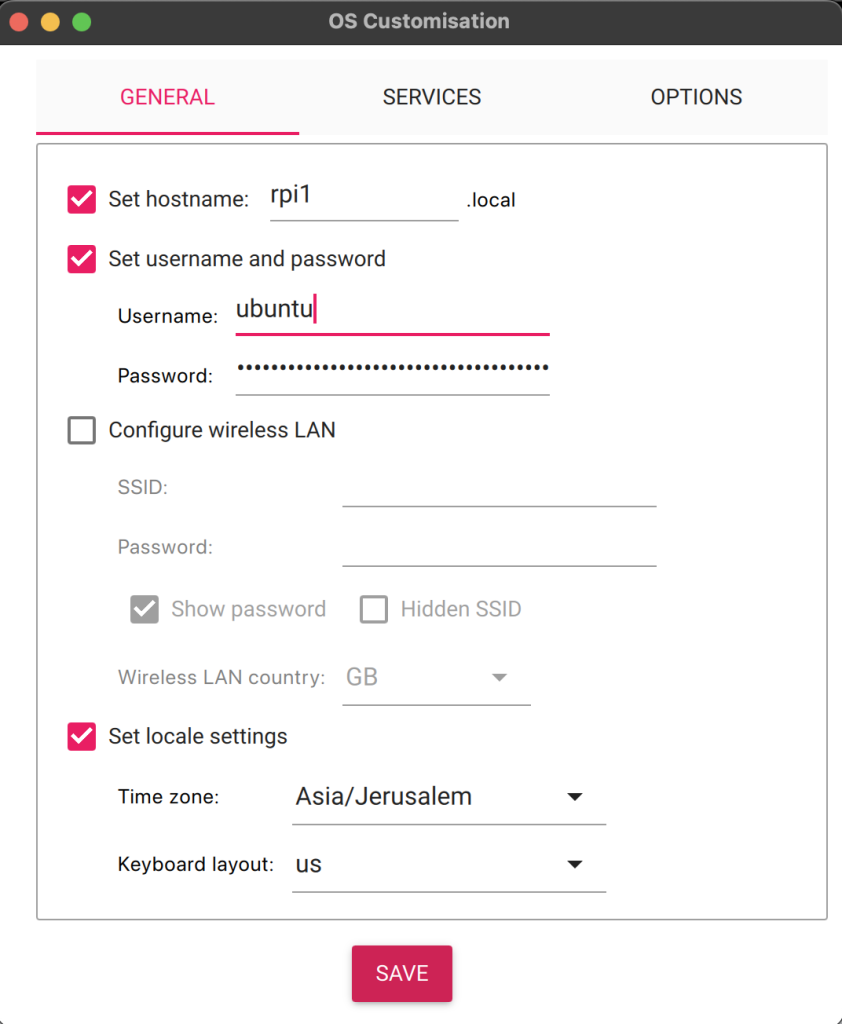
For each MicroSD card you prepare give a different hostname , in my case i chose rpi0, rpi1, rpi2… etc
Enable SSH under SERVICES tab, put your public key and click SAVE
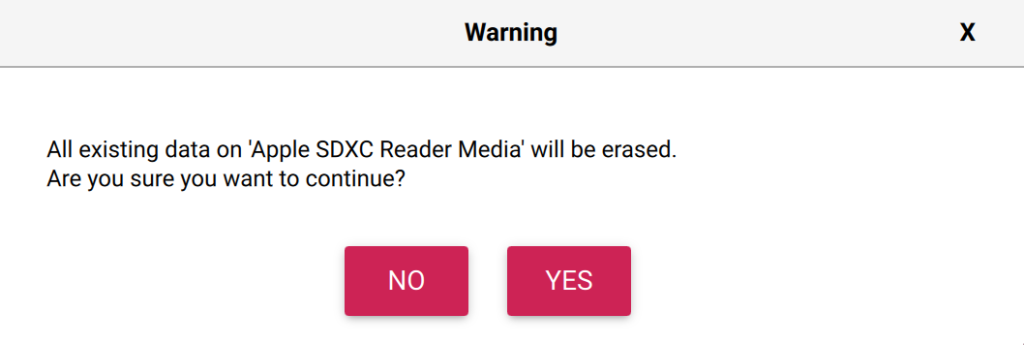
Click YES and YES again:

Let the flashing finish:
Once done, put the MicroSD inside the Raspberry Pi and boot the device.
Repeat this until all your Raspberries are setup wit rpi0, rpi1, rpi2 and rpi3
NOTE: In case of power issue or slowness you can update the rpi with following command
rpi-eeprom-updateMore to come.
STEP 2 – Install Kubernetes K3s
Architecture Design
The selection of K3s was because it’s a lightweight version of Kubernetes, specifically designed for IoT and edge devices like the Raspberry Pi. We don’t compromise from a fully fledge Kubernetes. We have a guide for How to Deploy Kubernetes using Kubespray if you’re searching for it.
Prepare Raspberry Pi Nodes
Let’s update the nodes:
$ sudo apt update && sudo apt upgrade -y
$ sudo reboot
Install required dependencies if not installed already:
$ sudo apt install -y curl iptablesInstall K3s in Highly Available Mode Using Embedded etcd
K3s has built-in support for HA using embedded etcd. We will install K3s on three of the Raspberry Pi devices as server nodes with embedded etcd, and the remaining Raspberry Pi will act as a worker node only.
There are a few requirements to meet for this kind of setup:
- 3 x Control plane nodes – Three or more server nodes that will serve the Kubernetes API and run other control plane services, as well as host the embedded etcd datastore.
- (Optional) 1 x agent nodes – Designated to run apps and services.
- Disks – The cluster performance depends on etcd performance. To ensure optimal speed we will use SSD disks to back K3s cluster.
Install K3s on the First Master Node
$ curl -sfL https://get.k3s.io | INSTALL_K3S_EXEC="server --cluster-init" sh -Output Example:
rpi0:~$ curl -sfL https://get.k3s.io | INSTALL_K3S_EXEC="server --cluster-init" sh -
[INFO]  Finding release for channel stable
[INFO]  Using v1.30.5+k3s1 as release
[INFO]  Downloading hash https://github.com/k3s-io/k3s/releases/download/v1.30.5+k3s1/sha256sum-arm64.txt
[INFO]  Downloading binary https://github.com/k3s-io/k3s/releases/download/v1.30.5+k3s1/k3s-arm64
[INFO]  Verifying binary download
[INFO]  Installing k3s to /usr/local/bin/k3s
[INFO]  Skipping installation of SELinux RPM
[INFO]  Creating /usr/local/bin/kubectl symlink to k3s
[INFO]  Creating /usr/local/bin/crictl symlink to k3s
[INFO]  Creating /usr/local/bin/ctr symlink to k3s
[INFO]  Creating killall script /usr/local/bin/k3s-killall.sh
[INFO]  Creating uninstall script /usr/local/bin/k3s-uninstall.sh
[INFO]  env: Creating environment file /etc/systemd/system/k3s.service.env
[INFO]  systemd: Creating service file /etc/systemd/system/k3s.service
[INFO]  systemd: Enabling k3s unit
Created symlink /etc/systemd/system/multi-user.target.wants/k3s.service → /etc/systemd/system/k3s.service.
[INFO]  systemd: Starting k3s
Verify the control plane:
$ sudo k3s kubectl get nodes
$ sudo k3s kubectl get pods -A
Setup access to the user:
mkdir -p $HOME/.kube
sudo cp -i /etc/rancher/k3s/k3s.yaml $HOME/.kube/config
sudo chown $(id -u):$(id -g) $HOME/.kube/config
echo "export KUBECONFIG=$HOME/.kube/config" >> $HOME/.bashrc
source $HOME/.bashrc
Get the Token from the first node:
$ sudo cat /var/lib/rancher/k3s/server/tokenInstall on the other control plane nodes:
$ export TOKEN="xxxxxxxxxxxxxxxxxxxxxxxxxxxxxxxxxxxxxxxxxxxxxxxxxxxxxxxx::server:xxxxxxxxxxxxxx"
$ curl -sfL https://get.k3s.io | INSTALL_K3S_EXEC="server --server https://<first-server-ip>:6443 --token $TOKEN" sh -
(Optional) Install on the worker:
If you want to install additional worker nodes, that won’t run the control plane, use the following:
$ curl -sfL https://get.k3s.io | INSTALL_K3S_EXEC="agent --server https://<server-ip>:6443 --token $TOKEN" sh -Check ETCD status
#!/usr/bin/env bash

etcd_version=v3.5.13

case "$(uname -m)" in
    aarch64) arch="arm64" ;;
    x86_64) arch="amd64" ;;
esac;

etcd_name="etcd-${etcd_version}-linux-${arch}"

curl -sSfL "https://github.com/etcd-io/etcd/releases/download/${etcd_version}/${etcd_name}.tar.gz" \
    | tar xzvf - -C /usr/local/bin --strip-components=1 "${etcd_name}/etcdctl"

etcdctl version
NOTE: the etcd_version might change.
Let’s check etcdctl endpoint status :
$ ETCDCTL_ENDPOINTS='https://127.0.0.1:2379' ETCDCTL_CACERT='/var/lib/rancher/k3s/server/tls/etcd/server-ca.crt' ETCDCTL_CERT='/var/lib/rancher/k3s/server/tls/etcd/server-client.crt' ETCDCTL_KEY='/var/lib/rancher/k3s/server/tls/etcd/server-client.key' ETCDCTL_API=3 etcdctl endpoint status --cluster --write-out=tableAnother test we can do is etcdctl endpoint health :
$ ETCDCTL_ENDPOINTS='https://127.0.0.1:2379' ETCDCTL_CACERT='/var/lib/rancher/k3s/server/tls/etcd/server-ca.crt' ETCDCTL_CERT='/var/lib/rancher/k3s/server/tls/etcd/server-client.crt' ETCDCTL_KEY='/var/lib/rancher/k3s/server/tls/etcd/server-client.key' ETCDCTL_API=3 etcdctl endpoint health --cluster --write-out=tableNow, Let’s check etcdctl check perf :
$ ETCDCTL_ENDPOINTS='https://127.0.0.1:2379' ETCDCTL_CACERT='/var/lib/rancher/k3s/server/tls/etcd/server-ca.crt' ETCDCTL_CERT='/var/lib/rancher/k3s/server/tls/etcd/server-client.crt' ETCDCTL_KEY='/var/lib/rancher/k3s/server/tls/etcd/server-client.key' ETCDCTL_API=3 etcdctl check perfAnd here’s the ouptut:
 60 / 60 Booooooooooooooooooooooooooooooooooooooooooooooooooooooooooooooooooooooooooooooooooooooooooooooooooooooooooooooooooooooooooooooooooooooooooooooooooooooooooooooooooooooooooooooooooooooooooooooooooooooooooooooooooooooooooooo! 100.00% 1m0s
PASS: Throughput is 151 writes/s
PASS: Slowest request took 0.150992s
PASS: Stddev is 0.011230s
PASS
Install Helm
$ curl https://raw.githubusercontent.com/helm/helm/main/scripts/get-helm-3 | bashTest deployment with Argo
helm repo add argo https://argoproj.github.io/argo-helm
helm install argocd -n argocd argo/argo-cd
NAME: argocd
LAST DEPLOYED: Sun Oct 6 14:26:24 2024
NAMESPACE: argocd
STATUS: deployed
REVISION: 1
TEST SUITE: None
NOTES:
In order to access the server UI you have the following options:
1. kubectl port-forward service/argocd-server -n argocd 8080:443
and then open the browser on http://localhost:8080 and accept the certificate
2. enable ingress in the values file `server.ingress.enabled` and either
- Add the annotation for ssl passthrough: https://argo-cd.readthedocs.io/en/stable/operator-manual/ingress/#option-1-ssl-passthrough
- Set the `configs.params."server.insecure"` in the values file and terminate SSL at your ingress: https://argo-cd.readthedocs.io/en/stable/operator-manual/ingress/#option-2-multiple-ingress-objects-and-hosts
After reaching the UI the first time you can login with username: admin and the random password generated during the installation. You can find the password by running:
kubectl -n argocd get secret argocd-initial-admin-secret -o jsonpath="{.data.password}" | base64 -dCheck pods deployed successfully:
rpi0:~$ kubectl get pods -n argocd
NAME                                                READY   STATUS    RESTARTS   AGE
argocd-application-controller-0                     1/1     Running   0          4m27s
argocd-applicationset-controller-578d744fc9-j9f58   1/1     Running   0          4m28s
argocd-dex-server-7bb9bd65b-rkxdl                   1/1     Running   0          4m28s
argocd-notifications-controller-6f6d9fc76f-vs97f    1/1     Running   0          4m28s
argocd-redis-6d448d7776-25w5f                       1/1     Running   0          4m28s
argocd-repo-server-7599cbc96c-9fmcl                 1/1     Running   0          4m28s
argocd-server-fc4d58c47-ng777                       1/1     Running   0          4m27s
Summary
Deploying Kubernetes K3s on Raspberry Pi is a quite simple process that lets you harness the power of Kubernetes. In this post, we showed How to Deploy a Kubernetes K3s on Raspberry Pi, highlighting how its elegant design makes it perfect for Raspberry Pi clusters. At Octopus Computer Solutions, we specialize in bringing Kubernetes to different environments, including edge computing setups with Raspberry Pi, providing flexible and scalable solutions for our clients.